
How to add a video to your homepage
This guide walks you through adding a video to your homepage, one step at a time. You can put a video in your hero (the big banner at the top), or further down the page in a Video Section.
See an example: Houseplant Crew https://houseplantcrew.com/ has a background loop in its hero.
Before you start: have your video ready. That can be a file on your computer, a link to a video you host somewhere (YouTube, Vimeo, Dropbox and more), or nothing at all, because you can pick a free stock clip inside the editor.
Part 1: Put a video in your hero
Step 1: Open the Store Editor
In your store admin, go to Design > Editor. Check that your homepage is selected in the selector at the top left.
Step 2: Open your hero
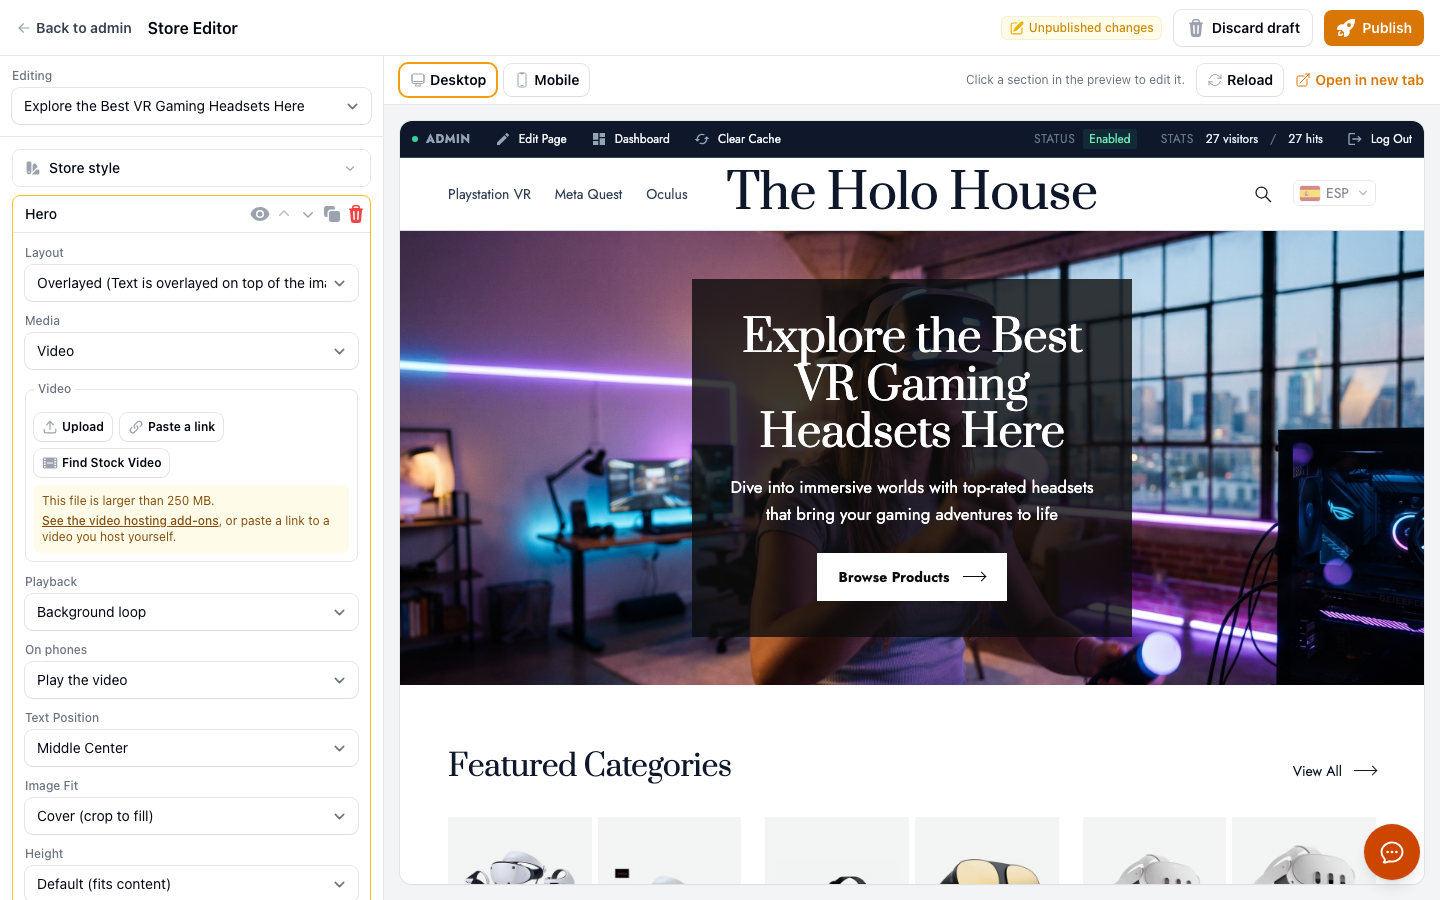
Click the big banner at the top of the preview, or click Hero in the section list on the left. Its settings open.
If your homepage has no Hero in the list and you see a box with a Use a video in the hero button, click that button. Your homepage changes to sections you can edit. It looks the same as before, and the hero opens for you.
Step 3: Pick a layout that shows a picture
Set Layout to one of these:
- Overlayed: the video fills the banner and your headline sits on top of it.
- Columns: the video sits on one side and your headline on the other.
The Products layout shows product photos, so it cannot show a video.
Step 4: Switch Media to Video
Set Media to Video. A Video box appears with three buttons.
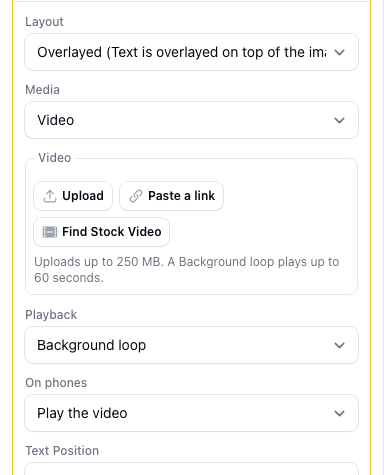
Step 5: Add your video
Choose one of the three buttons.
Upload a file from your computer:
- Click Upload and choose the file.
- Keep the page open while the progress bar fills.
- When it says "Your video is being prepared", you can carry on. The preparation can take a few minutes.
Paste a link to a video you host:
- Click Paste a link.
- Paste the address of your video, for example from YouTube, Vimeo, Wistia, Dropbox or Google Drive, or a link that ends in .mp4.
- Click Add.
Find Stock Video for a free clip:
- Click Find Stock Video.
- Type a word that matches your niche, such as "coffee" or "hiking", and click Search.
- Hover over a clip to preview it. Click the one you want.
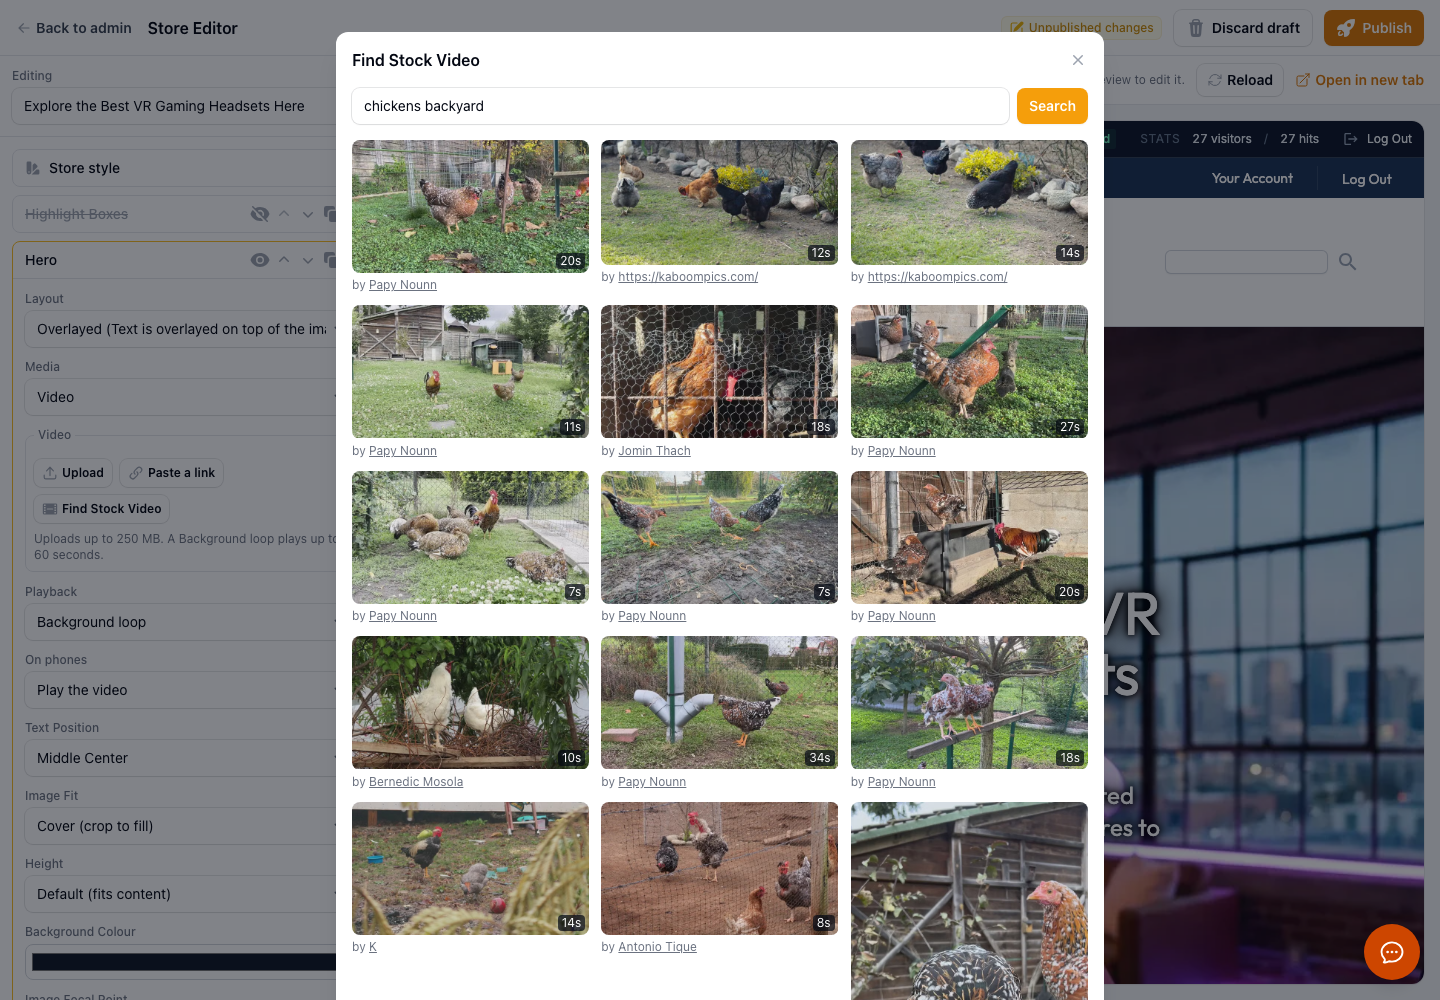
Instagram and Facebook videos cannot be used. If your video is only on one of those, upload the file instead.
Step 6: Choose how it plays
Set Playback:
- Background loop: the video plays with no sound, over and over, behind or beside your headline. Visitors get a pause button. Best for short, moving scenes. A loop can be up to 60 seconds.
- Click to play: visitors see a picture with a play button, and the video plays with sound when they click. Best for a demo, a review or a talk to camera.
YouTube, Loom, TikTok, Dailymotion and Streamable videos can only use Click to play, so the editor chooses it for you. A Vimeo video needs a paid Vimeo plan to loop.
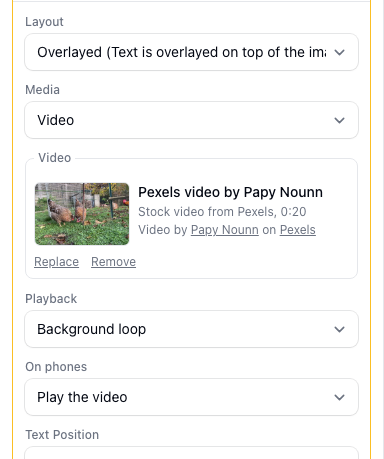
Step 7: Check your Still image
Scroll down to Hero Image. This picture is your video's Still. It shows while the video loads, and some visitors only ever see the Still, so it should look good on its own.
- If you uploaded a video, picked a stock clip or pasted a link from YouTube or a similar site, a picture from your video is put here for you when the field is empty. Change it if you prefer another.
- If you pasted a link to a video file or a stream, the editor asks you to set one: "Set a Still image in Hero Image below." Upload a picture there.
Your Mobile Hero Image (optional) is still used as the picture on phones.
Step 8: Fine-tune the look (optional)
- Overlay (Overlayed layout): Light, Medium or Dark tints the video so your headline is easier to read.
- Media side (Columns layout): put the video on the Left or the Right.
- Frame (Columns layout): Circle, Arch, Phone or Laptop. Phone and Laptop draw a simple device around the video in your store's colours.
- On phones: Play the video, or Show the Still image to save your visitors' mobile data.
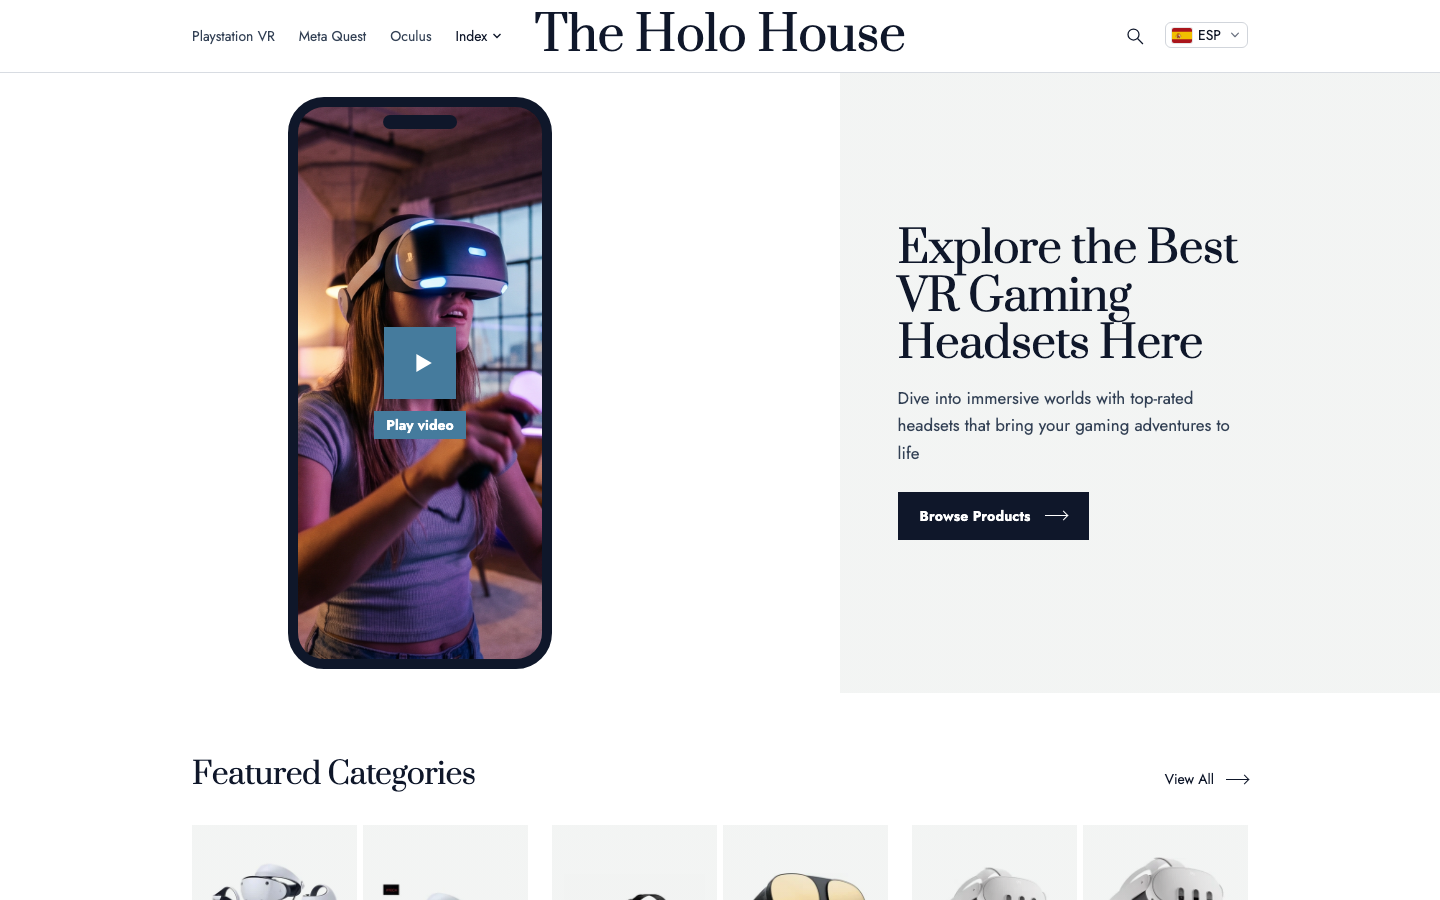
Step 9: Preview on a phone and a computer
Use the phone and desktop buttons above the preview to check both.
Step 10: Publish
Press Publish. Your visitors see the change now.
If your upload was still being prepared, that is fine. Your store shows the Still until the video is ready, then starts playing it by itself. You do not need to publish again.
Part 2: Add a video further down the page
A Video Section puts a video anywhere on your homepage or on another page.
- In Design > Editor, click Add section and choose Video Section.
- The section lands at the bottom of the page. Use the up and down buttons to move it where you want it.
- Type a Heading (optional) if you want a title above the video.
- In the Video box, add your video the same way as in Step 5.
- Choose a Playback, as in Step 6.
- Choose a Shape: Wide (16:9) for most videos, Square (1:1), Standard (4:3), or Tall (9:16) for videos filmed on a phone.
- Choose a Frame if you want one.
- Press Publish.
You can also add a Video Section above or below the content on your category, brand and article pages. Pick the zone from the selector at the top of the editor.
When visitors see the Still instead of the video
This is normal. Visitors see the Still when:
- their phone or computer is set to reduce motion or save data
- they use an iPhone in Low Power Mode
- you set On phones to Show the Still image and they are on a phone
- a new video is still being prepared
- the video cannot load
- your store has used its video bandwidth for the month
How much video you can use
Videos you host yourself and link to (YouTube, Vimeo, Wistia, a video file and so on) have no limit.
Videos we store for you (uploads, Dropbox and Google Drive copies) have a monthly allowance for each store. Stock clips count only toward bandwidth.
- Bandwidth: 5 GB a month for each store, or 10 GB if you are an Accelerator member. Bandwidth is what your visitors download when they watch, so short clips go further.
- Videos stored: 3 for each store, or 10 for Accelerator members.
- Minutes stored: 5 for each store, or 30 for Accelerator members.
- Largest upload: 100 MB, or 250 MB for Accelerator members.
Once your store has used half its bandwidth for the month, the Video box shows how much. We email you at 80%. If your store uses it all, visitors see the Still until the next month starts.
If you reach your limit, you can add more. The editor shows you how when it happens:
Tips
- Keep background loops short: 10 to 20 seconds is plenty.
- Pick a clip with slow, steady movement. Fast cuts make text hard to read.
- Use a Dark or Medium overlay if your headline is white.
- Host long videos on YouTube or Vimeo and use Click to play. They never count toward your allowance.
🔗 How to add videos to your store (every option, plus videos in articles and products)